Installing UI views
UI views are plugins to the core product which customise the frontend for a certain use case or community.
GeoNetwork Enterprise comes with a default view and a minimal view. By default the minimal view is activated in
GeoNetwork Enterprise. The core product can be extended by installing additional views.
Configuration of UI views includes two steps:
Downloading the corresponding UI view package.
Deploying it into GeoNetwork.
Downloading a UI package
UI view packages are available in the GeoCat Nexus repository. To download, follow these steps:
Open your Web browser and navigate to https://nexus.geocat.net. Log in with your credentials.
Move to the Browse section and locate the enterprise folder
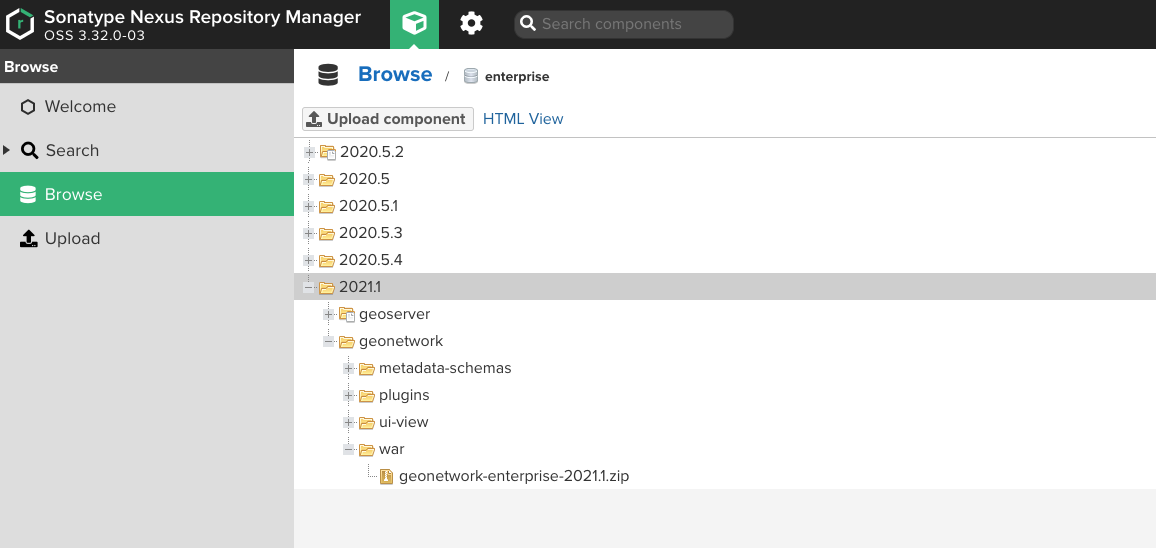
#. Open the folder geonetwork/ui-view and locate the folder containing the UI view that you want to install. Expand it and click on the package containing the most recent version.
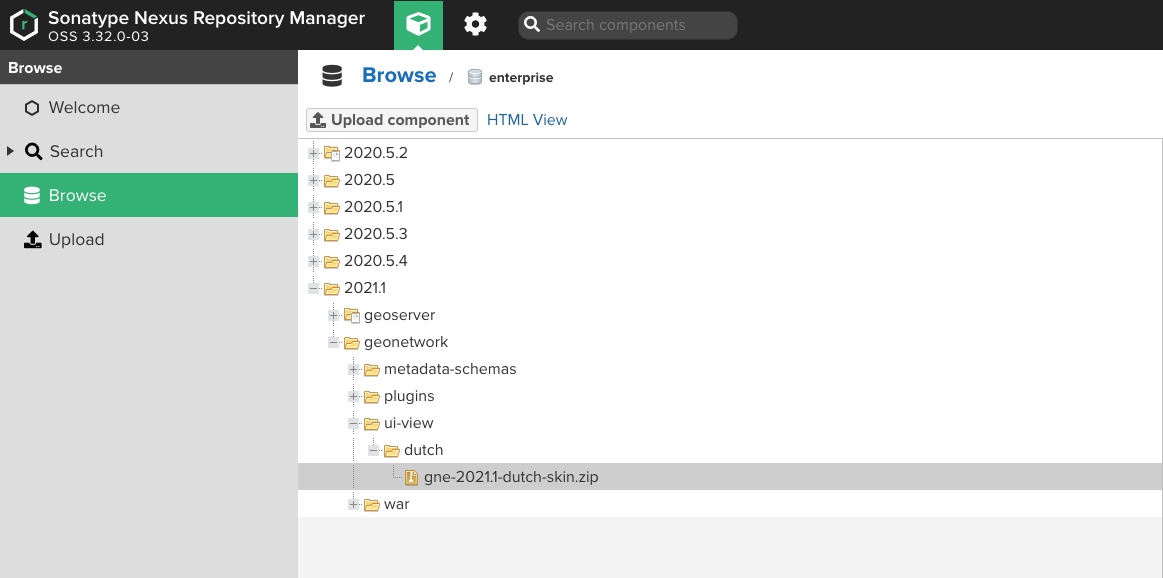
In the file properties, download the path link to download the
zipfile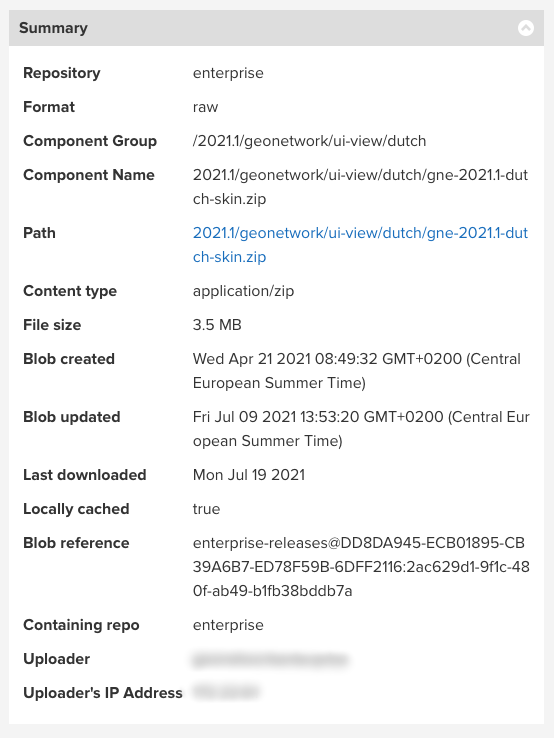
Deploying an UI view to GeoNetwork
To deploy the downloaded UI view, follow these steps.
Extract the content of the downloaded zip file. The file structure and content inside the zip file will be as follows:
A
LICENSEfile.A folder containing the UI view files.
Copy the folder with the UI view into the
[Application_folder]/catalog/viewsfolder.Restart the service and clean the HTML/CSS cache (login as admin, go to ).
Available UI view packages
Detailed instructions regarding the installation and configuration for each of the available UI view packages can be found in the following pages: