Data publishing
Data publication is provided using the configuration screens of the GeoServer Enterprise and GeoNetwork Enterprise components.
Data organization
Create a workspace, used to organize information for publication:
-
Login to GeoServer Enterprise component using the credentials provided by email.
-
Navigate to
Data❯Workspacespage listing workspaces. -
Click Add new workspace link to open a New Workspace page.
Name trainingNamespace URI https://geocat.live/trainingDefault Workspace Unchecked Isolated Workspace Unchecked 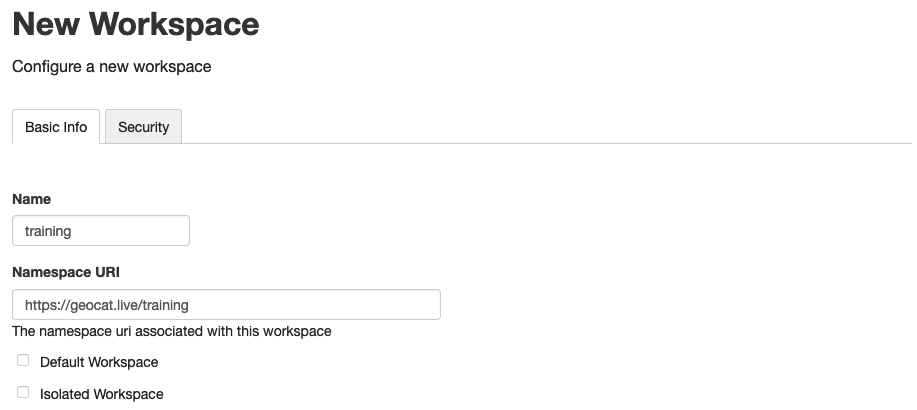 New workspace
Note
-
prefix: xml prefix used to avoid naming conflict between workspaces.
Recommend a very short name, using lowercase characters and
_, using 3 to 10 characters.- example
- ne
- census
- survey_app
-
namespace: xml document namespace, required to be unique to avoid conflict between xml documents.
The namespace is provided as a URI with the focus on being unique. Recommend using the URL to the team, project or data vendor. You may find it easier to consistently use URL of geocat live instance followed by the prefix above.
https://example.geocat.live/examplehttps://www.naturalearthdata.com/https://census.gc.ca/https://github.com/survey_app
As described above a lot of care is taken to follow the restrictions of the XML document formats used by OGC Web Services such as WFS.
-
-
The new training workspace is created.
Vector data publication
GeoServer data publication:
- Upload vector data, GeoPackage format recommended:
- Use
Tools❯Resource Browserto upload a GeoPackage file to `data folder - Use WebDav access
- Data directory includes
data/ne/physicalsample data.
- Use
-
Create a new
Physicalvector data source.-
Navigate to
Data❯Stores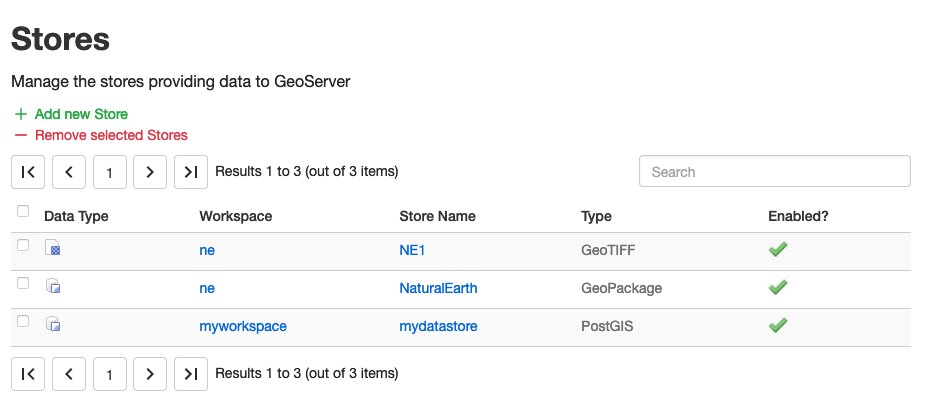 Stores
 -
Click Add new Store, locate the
Vector Data Sourcesheading, and click on the Directory of spatial files (shapefiles) link.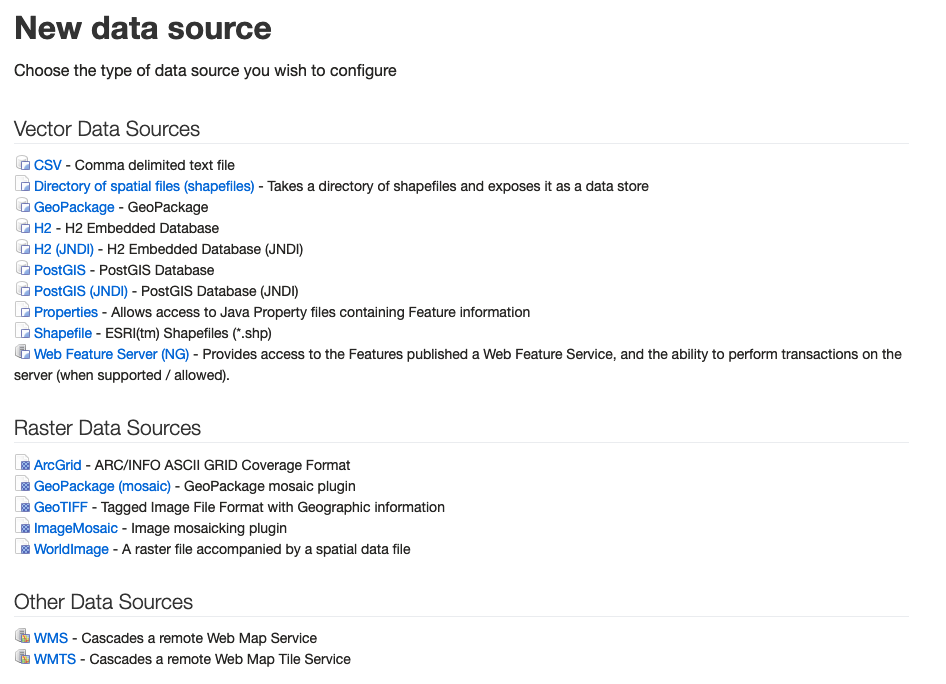 New data source
 -
Provide a name and connection parameters for the new data source.
Basic connection information:
Workspace trainingData source name PhysicalConnection parameters:
Directory of shapefiles file:data/ne/physicalClick the Browse button for assistance filling in
file:data/ne/physicaldirectory location.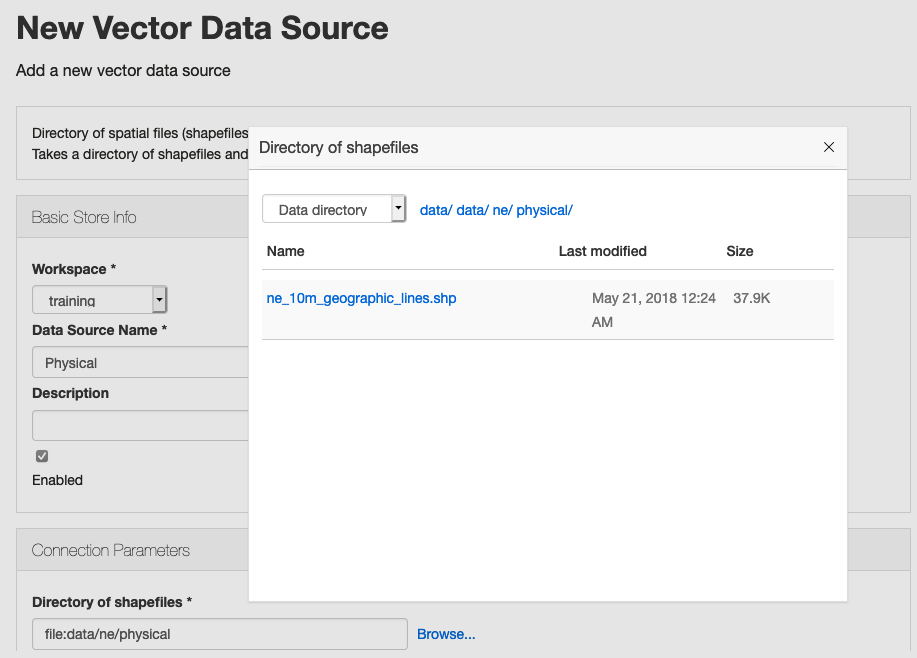 Physical Data source
-
-
Add a new new geographic_lines layer.
-
Navigate to
Data❯Layers, click Add a new layer link.Note
When creating a new store you are directly taken to this screen.
-
Select training:Physical data source to list available layers for publication.
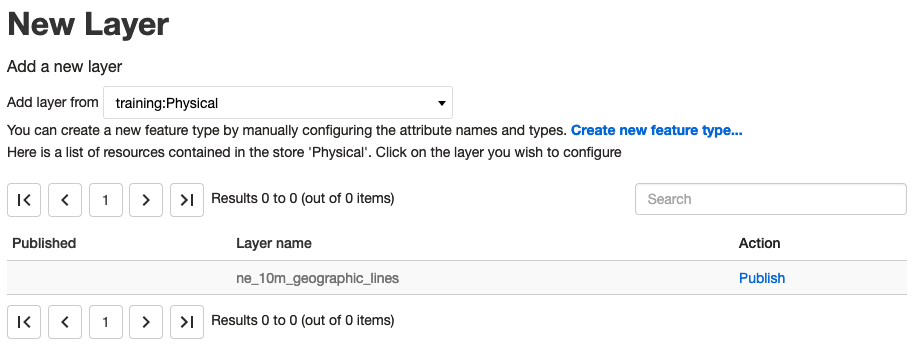 Publish layer
 -
Locate the
ne_10m_geographic_lineslayer, and click the Publish link. -
Using the Edit layer page fill in the Data tab.
Basic info:
Name geographic_linesTitle Geographic LinesAbstract Tropical and polar circles, equator, and International Date Line.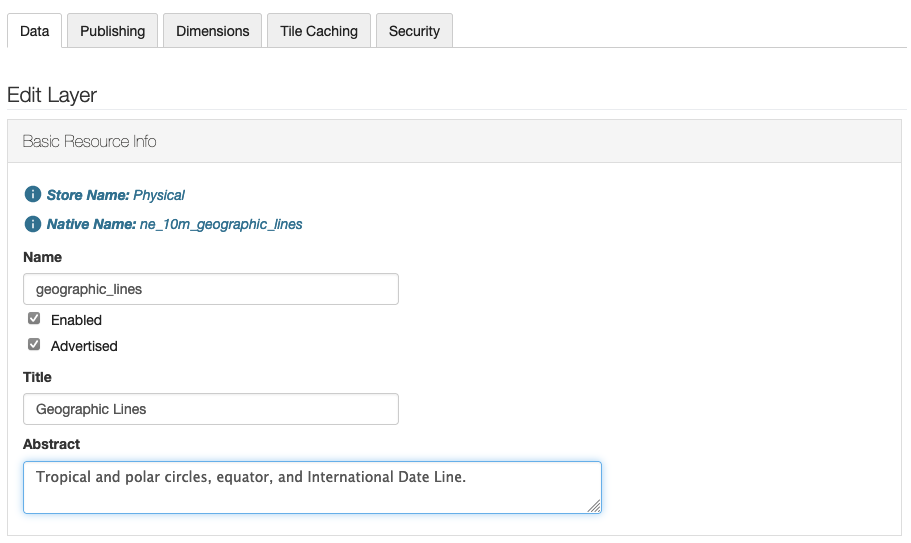 Basic info
Note
- Layer name is machine readable, recommend a short name, using lowercase characters and
_. - Title and Abstract are human readable.
Coordinate Reference Systems: The following values have been filled in from the data set.
Native SRS EPSG:4326Declared SRS EPSG:4326SRS handling Forced declared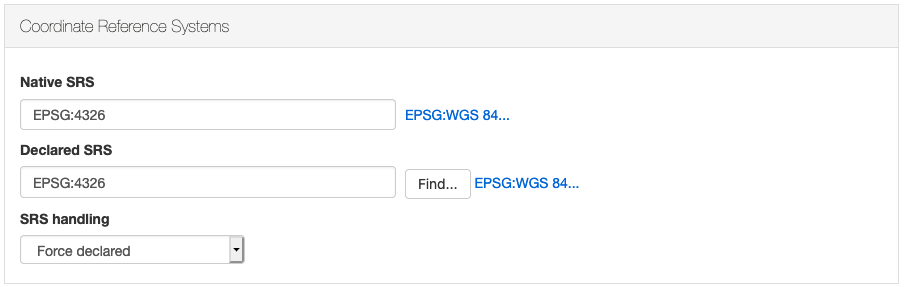 Coordinate Reference Systems
Bounding Boxes:
Native Bounding Boxes Use Compute from data bounds Lat/Lon Bounding Box Use Compute from native bounds 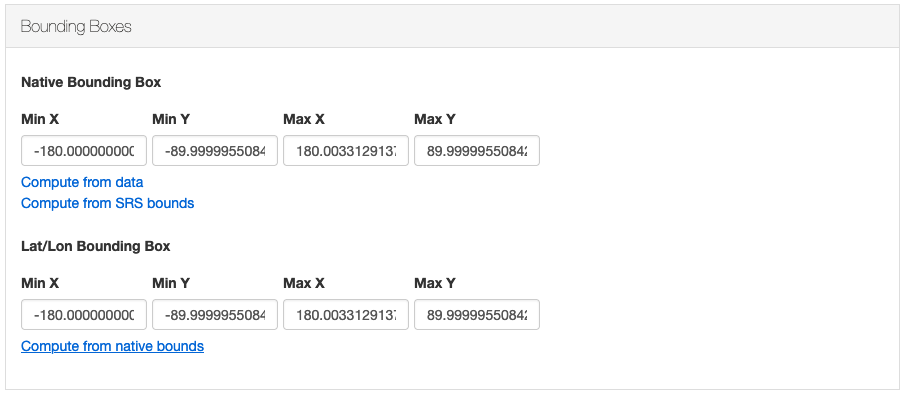 Layer bounds
Note
The layer data extends slightly outside the valid SRS bounds in this case, consider using :Compute from SRS bounds if you wish to be strict.
- Click Save to create the layer.
- Layer name is machine readable, recommend a short name, using lowercase characters and
-
-
Optional: Generate a style.
-
Navigate to
Data❯Styles -
Click Add a new style with the following details.
Style data:
Name geographicWorkspace trainingFormat YSLD New style
Style Content:
Generate a default style Line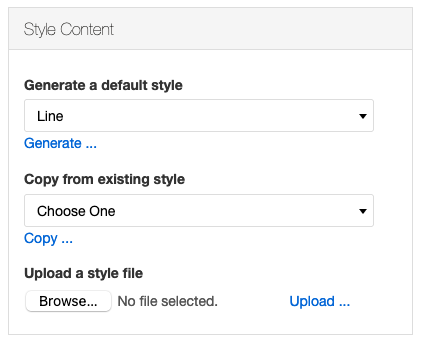 Style content
Click the Generate link to generate a YSLD line style.
Press Apply to save the style and remain in the style editor. Once the style is saved the style editor displays additional tabs for publishing, layer preview and layer attributes.
-
Change to the Publishing tab of the style editor.
Locate the training:geographic_lines layer, using the search if necessary.
Use the Default checkbox to set this style as the default for the training:geographic_lines layer.
 publishing
 -
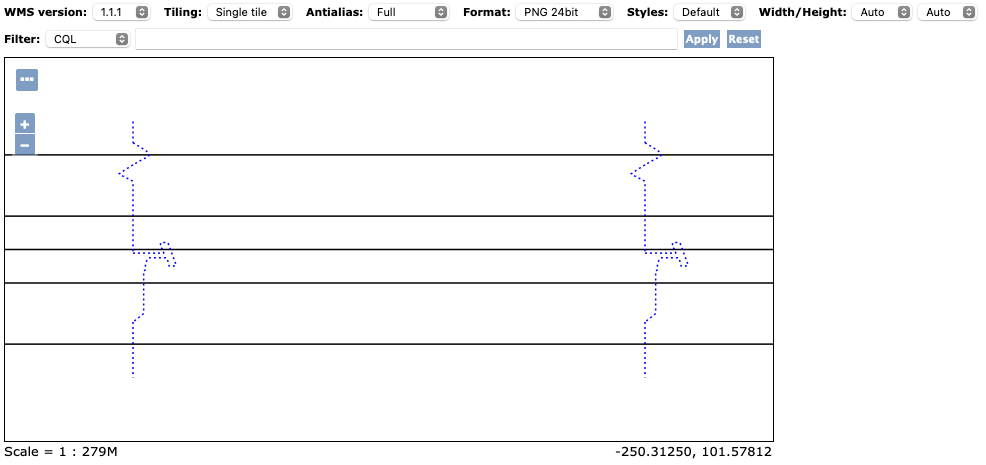
Change to the Layer Preview tab of the style editor.
Click on the preview on layer link, and select training:geographic_lines to preview.
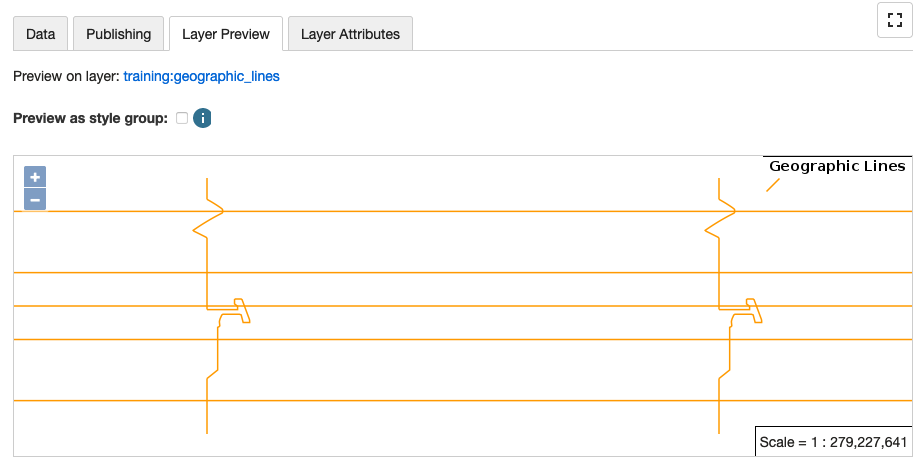 Layer preview
Update the style definition using:
rules:
-   title: Latitude
    filter: \${featurecla = 'Circle of latitude'}
    symbolizers:
    - line:
        stroke-color: black
        stroke-width: 1
- title: Date line filter: \${featurecla = 'Date line'} symbolizers: - line: stroke-color: blue stroke-dasharray: 2 3Click Apply to view the updated layer preview.
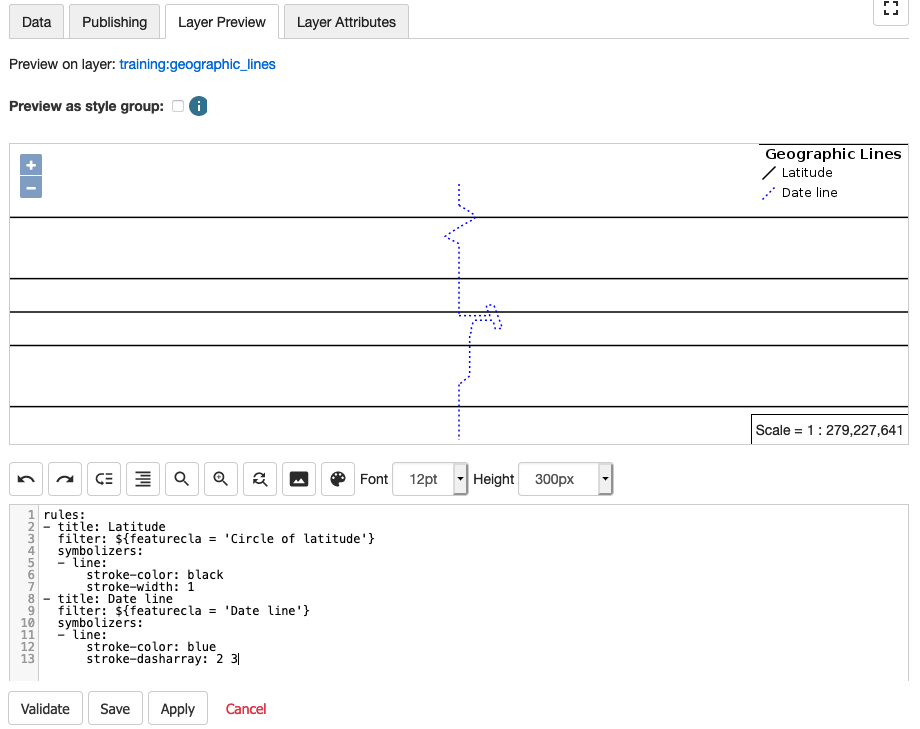 Style definition
 -
Change to the Layer Attributes tab of the style editor.
Used to summarize dataset to assist with style definition. 5. Use layer preview to check appearance - Navigate to
Data❯Layer Preview -
Locate
training:geographic_linesin the list, using the search if necessary.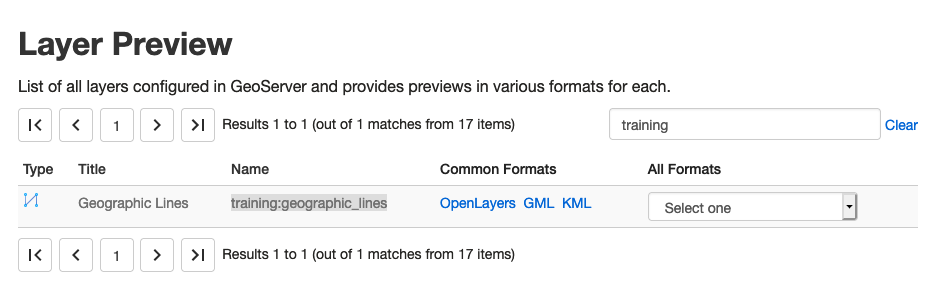 Layer preview
 -
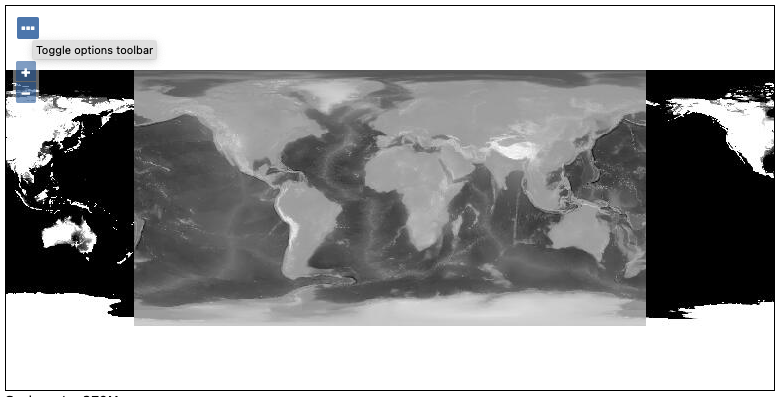
Click the OpenLayer link to open a small layer web application.
Use the ... menu to explore preview options.
 OpenLayers preview
-
Raster data publication
GeoServer data publication:
-
Upload raster data, GeoTIFF format recommended.
- Use
Tools❯Resource Browserto upload a GeoTIFF file todatafolder - Use WebDav access
- Data directory includes
data/eaa/DEM_geotiff/alwdgg.tifsample data.
- Use
-
Create a Raster Data Source
-
When setting up layer define:
- Name, Tile, Abstract
- Spatial Reference System, Bounds
-
Double check in layer preview
 DEM
DEM
Basemap publication
-
Create a layer group
- name, title, abstract
-
Add layers in draw order.
Please note that layers are listed in draw-order, this can be disconcerting as we are used to z-order.
-
Generates bounds
Catalog metadata record
- Create a data record from template.
- Fill in title and abstract information.
- Associate with WMS layer online resource for map visualization.
- Associate WCS layer online resource for raster access
- Publish
- Confirm listing in catalog and functionality of map viewer.
Spatial data infrastructure integration
- Record the metadata record URL.
- Edit GeoServer Layer definition with reference to metadata record URL.