4. Initial Configuration
Activate extension
After the successful installation of GeoCat Bridge start Esri ArcMap to start using Bridge.
Check under Customize > Extensions that the extension is installed and enabled:
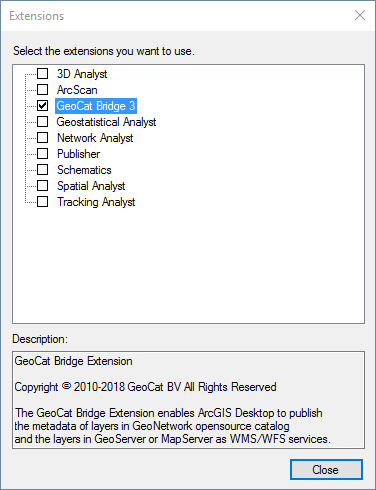
Activate extension
Show Bridge toolbar
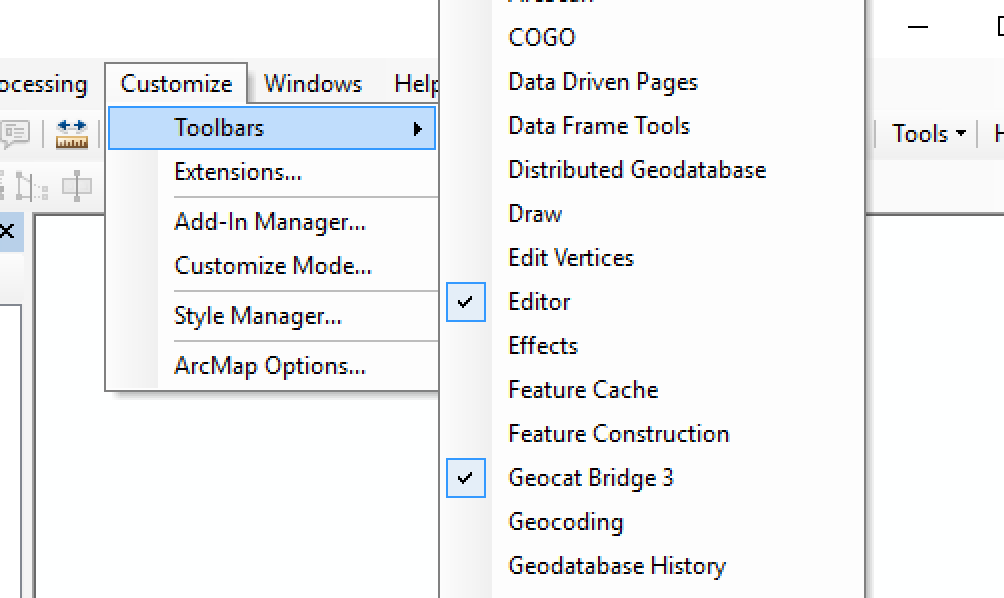
ArcMap toolbars
To show the Bridge toolbar, click on the ArcMap® toolbar with your right mouse button and select GeoCat Bridge from the list.

Bridge toolbar
Configuration wizard
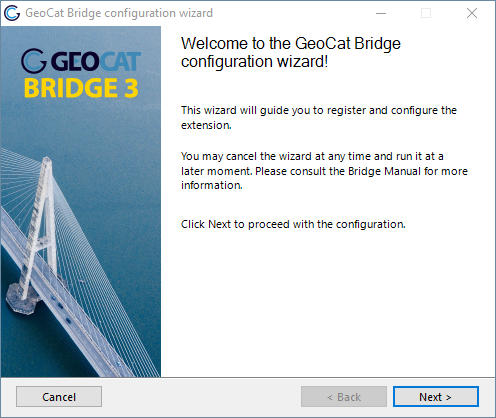
Wizard welcome screen
When you enable the extension for the first time, the configuration wizard appears to help you to configure Bridge. You can skip screens in case you do not have all the information at hand. It is possible to re-run the Configuration wizard from the Bridge toolbar at a later moment.
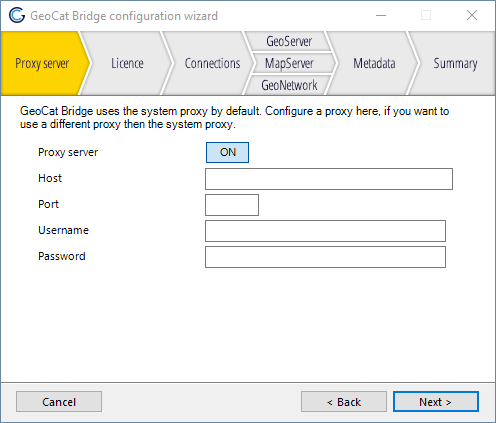
Proxy server
Bridge needs internet access, so this section may be relevant if your organisation requires users to use a proxy to access the internet and the system proxy settings are not usable by Bridge. In that case, configure the proxy server here.
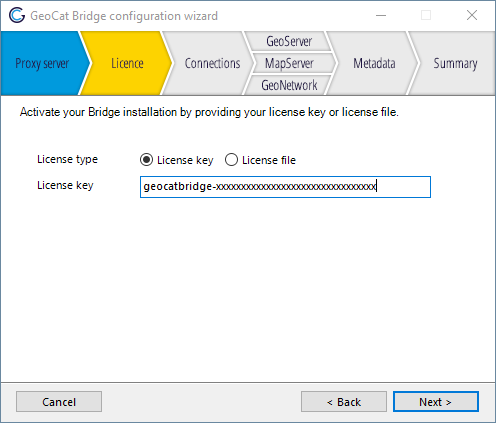
License key
To use the Bridge extension you must activate your installation with a valid license key. The default license validation process requires an Internet connection. If the license key was valid, a dialog will show the license type, expiry date and the name of the license holder.
If your computer is not connected to the internet, there also is the option to activate your installation using a license file. This option will never require an internet connection, but you do have to download a license file on the Bridge product page of the GeoCat customer portal and copy it to the disconnected environment to assign it to Bridge. See also license file activation.
Note
The license mechanism has changed in GeoCat Bridge v3.2. Please read the license introduction for more information.
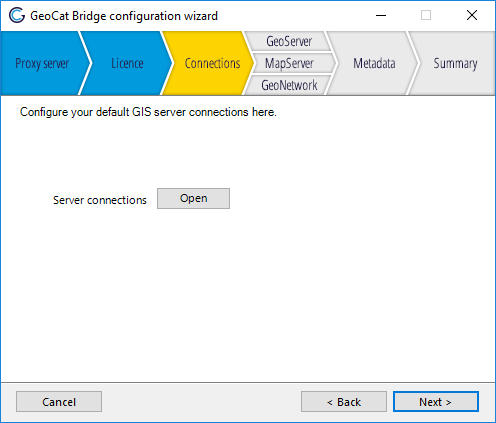
Add or edit connections
Here you can add or edit your GIS server connections, click on the Open button to go the server connection screen, see Server Connections.
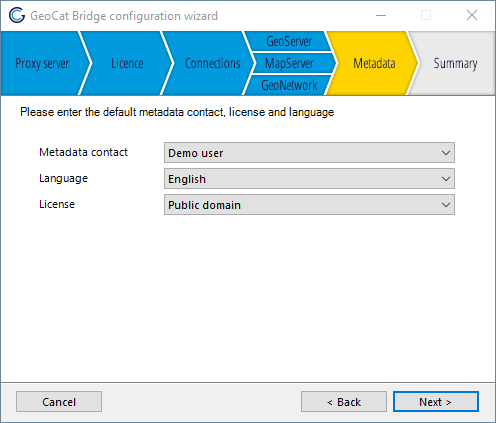
Metadata configuration
Here you can enter the default metadata contact, license and language. When a layer does not have any metadata defined Bridge will use these values while publishing to the map and catalog servers.
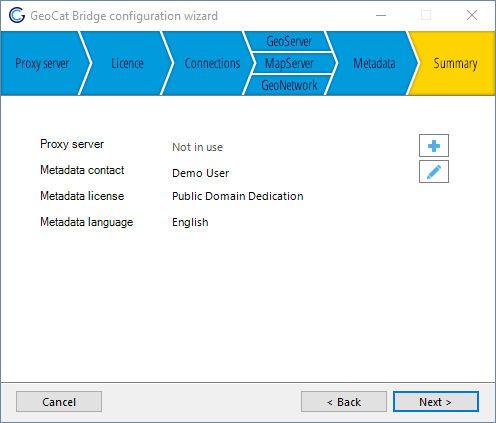
Configuration summary
Overview of the server configurations. Click  to edit a server configuration and click
  to add a server configuration if you have not configured a server yet.
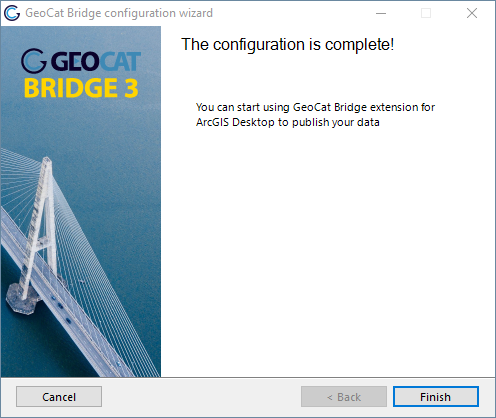
Configuration complete
License File Activation
When Bridge is unable to connect to our license server due to your network configuration, we provide the option of activating GeoCat Bridge with a license file. The license file activation process consists of three steps:
Step 1
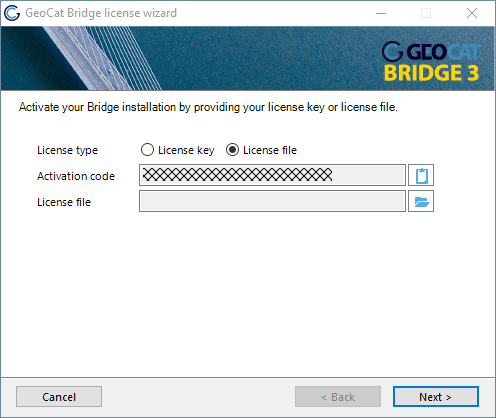
In the configuration or license wizard select the License file option and copy the Activation code, either by selecting it and pressing CTRL+C or by clicking on the Copy to clipboard button on the right side. Then send this code to someone who has access to the internet (if your computer does not have it).
License file activation
Step 2
On a computer with internet access, navigate to the GeoCat customer portal and log in with your customer credentials. Then, navigate to the Products & Services page. You should see all your purchased products here, including GeoCat Bridge. Note that Bridge may be purchased as a standalone product, but it can also be part of a GeoCat Live or Enterprise subscription (bundled).
Now please navigate to the appropriate Bridge product details page, where you should see a section similar to this:
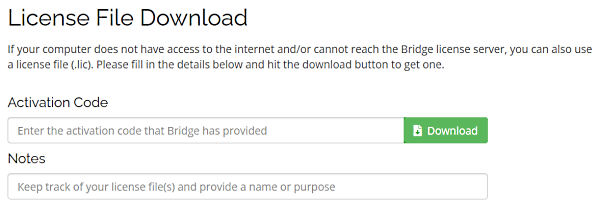
Fill in the Activation Code that you copied from Bridge under step 1 and click Download to obtain the license file.
Tip
A part of the activation code is used to identify your domain or machine name, which is linked to the license file. Both GeoCat and the licensee (you) cannot see the actual name of the domain or machine. Therefore, it is recommended to associate some kind of label with the license file (in the Notes field) before you download it. That way, it’s easier to unlink a license file from your account, e.g. when it’s no longer being used.
If you’re having any problems with your license, or you can’t find the Bridge product page, please contact GeoCat support.
Step 3
Make sure that the license file from step 2 is accessible to the computer that will run Bridge. In the configuration or license wizard (see step 1), select the License file option again (if you did not leave it open all the time) and click on the Browse button to the right of the License file field below the Activation code. Select the .lic file and click Next.
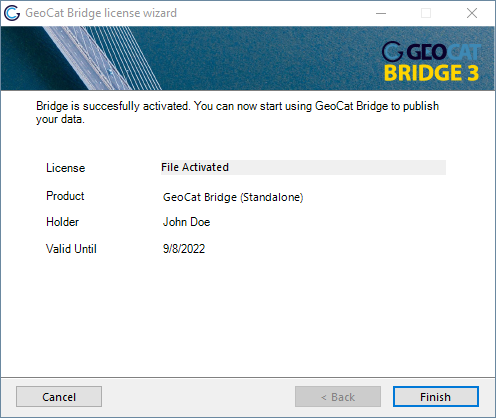
If the license file was valid and it matches the activation code, a message similar to the one below is displayed. Note however that the product name may be different, depending on your subscription. The Holder will show the name of the license holder or licensee. This could be a company name or an individual user.
Warning
If reinstall Bridge, or if your computer is part of a domain and the domain name changes, or if your computer is not part of a domain but the machine name changes, your activation code may change as well. If that happens, your license file will likely become invalid and the dialog shown below is displayed when ArcMap starts. In that case, Bridge deactivates itself and you will have to repeat the license file activation process as described above.
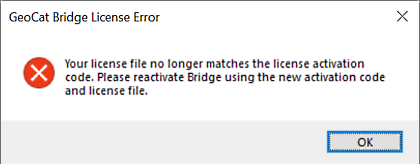
License Deactivation
At some point, you may wish to deactivate your GeoCat Bridge license, e.g. when you wish to assign a new license key or if your license file became invalid. You can remove the current license key or file by clicking the Remove button in the About dialog. This can be opened from the Help > About menu on the GeoCat Bridge toolbar.

Once the license has been removed, Bridge will be deactivated (unlicensed) and you can reactivate it again using the Activate GeoCat Bridge option from the Help menu on the GeoCat Bridge toolbar.