Server Connections
Before you can publish data with GeoCat Bridge, you will have to configure one or more server connections. This can be achieved in the Servers section of the Bridge dialog:
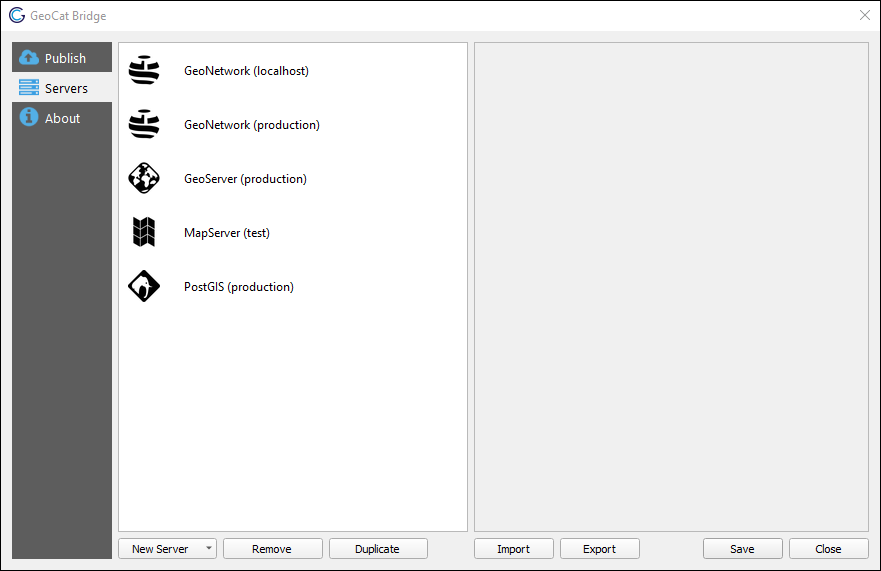
Adding connections
Click New Server and choose one of the supported server types to create a new server connection:
GeoServer
MapServer
PostGIS
GeoNetwork
GeoCat Live
If you wish to remove a server connection, select it from the left panel and click the Remove button. The Duplicate button may come in handy if you wish to try out an alternative configuration based on an existing server connection.
Below you can find more info about the different types of services and connections supported by Bridge.
GeoNetwork
Configure a GeoNetwork connection to publish your metadata to an online catalog (CSW).
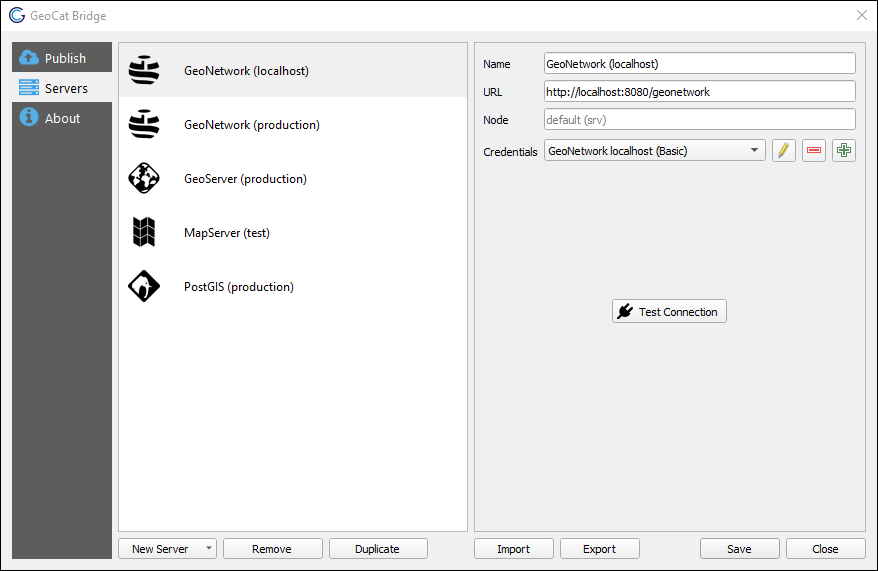
srv, which will be used if you leave the Node field empty.Click Test Connection to verify that the connection can be established.
Note
lxml Python library. This library used to be installed by default,
but this no longer applies to QGIS 3.22 (LTR) and up, for example.lxml, it will issue a warning. Therefore, if you wish to publish metadata,
please install this missing Python package (e.g. using the OSGeo4W setup or Python’s pip tool).GeoServer
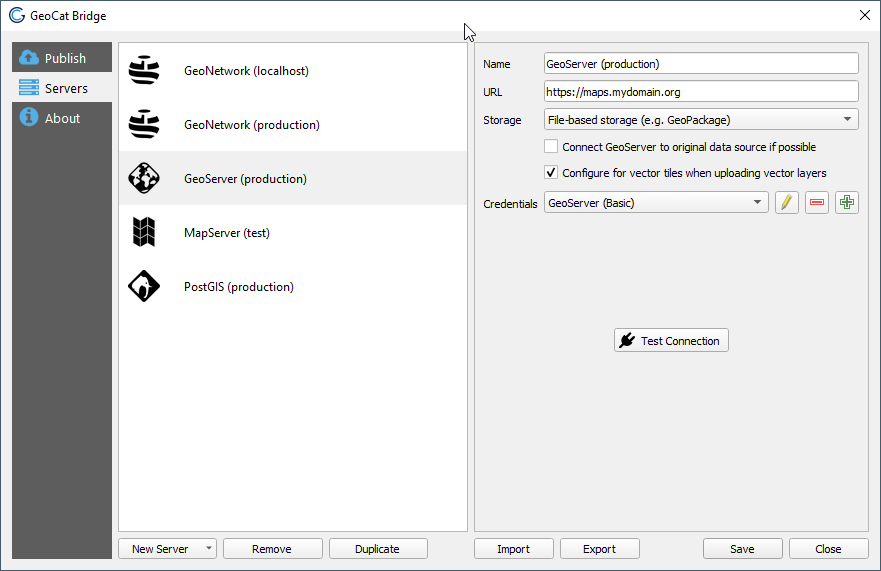
http://localhost:8080/geoserver) or the REST API URL (e.g. http://localhost:8080/geoserver/rest). Both URLs will work.If required, you can create and publish Mapbox styles for vector tiles. Mapbox styles and sprite sheets will be processed after all layers were successfully published to GeoServer.
Click Test Connection to verify that the connection can be established.
You should also specify how layer data will be stored on the server. Three different methods are available:
File-based storage
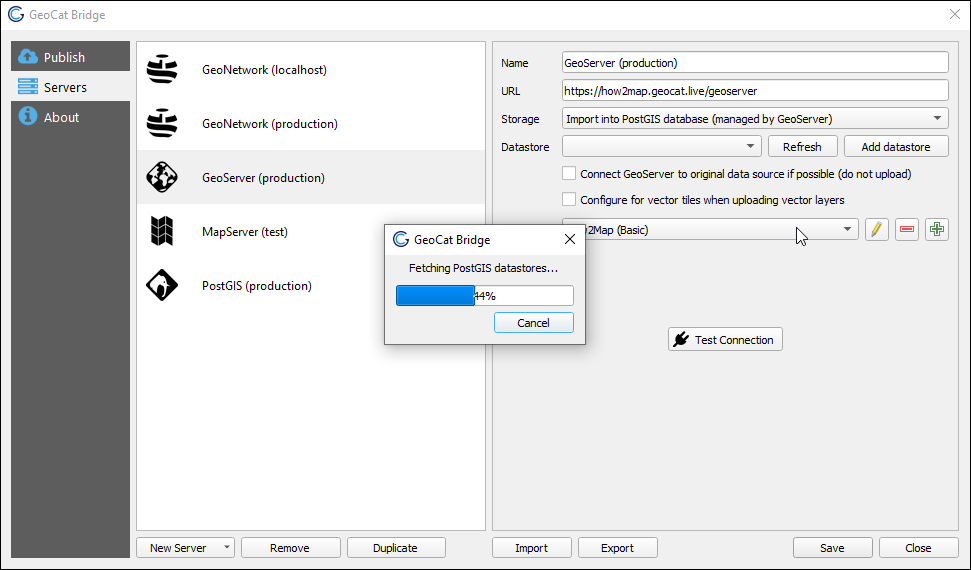
Import into PostGIS database (direct connect)
Import into PostGIS database (handled by GeoServer)
Note
Warning
PostGIS
Configure a PostGIS connection if you wish to upload layer data to PostGIS directly. Setting up this connection is required when using the Import into PostGIS database (direct connect) in a GeoServer connection.
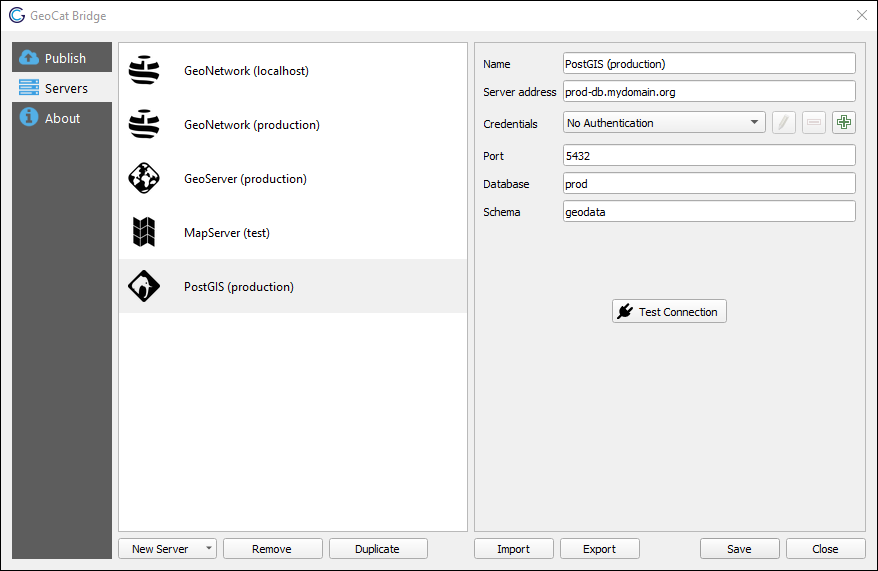
Note
JNDI connection pool support is currently unavailable.
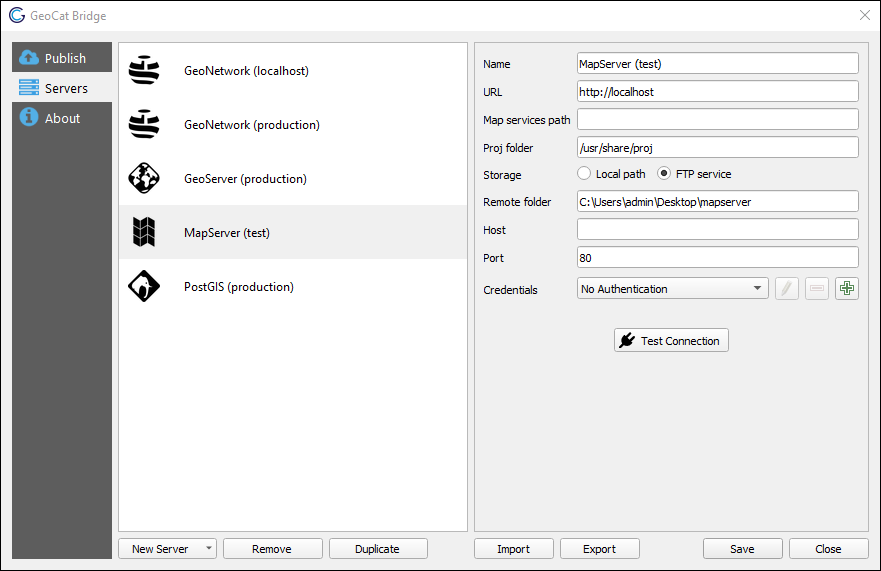
MapServer
Configure a MapServer connection to publish your map (layer data and symbology). A MapServer endpoint (Mapfile) is created for each QGIS project.
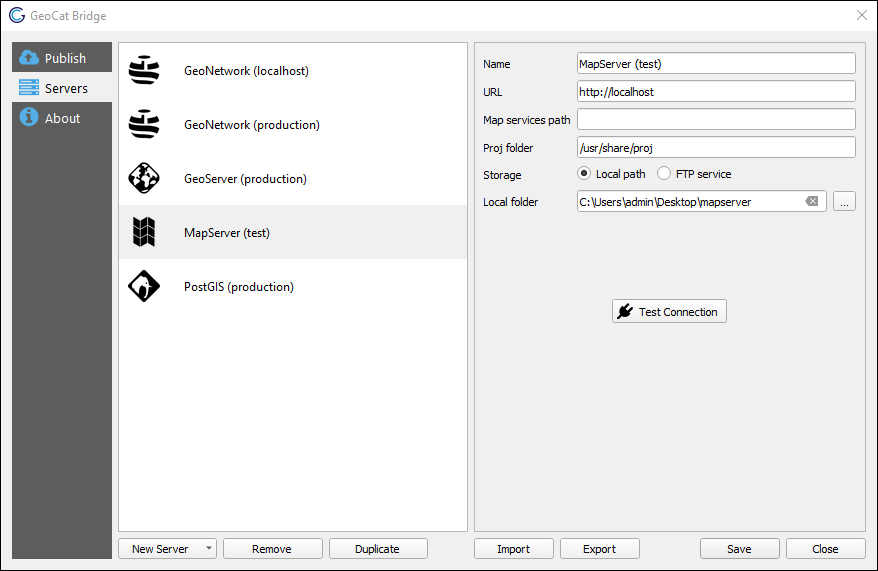
Under Storage, configure how Bridge should save the MapServer data. Choose Local path to store all files on the local file system. Choose FTP service to transmit the files over FTP to the online MapServer instance. Depending on which option is selected, you will see some additional parameters that must be configured:
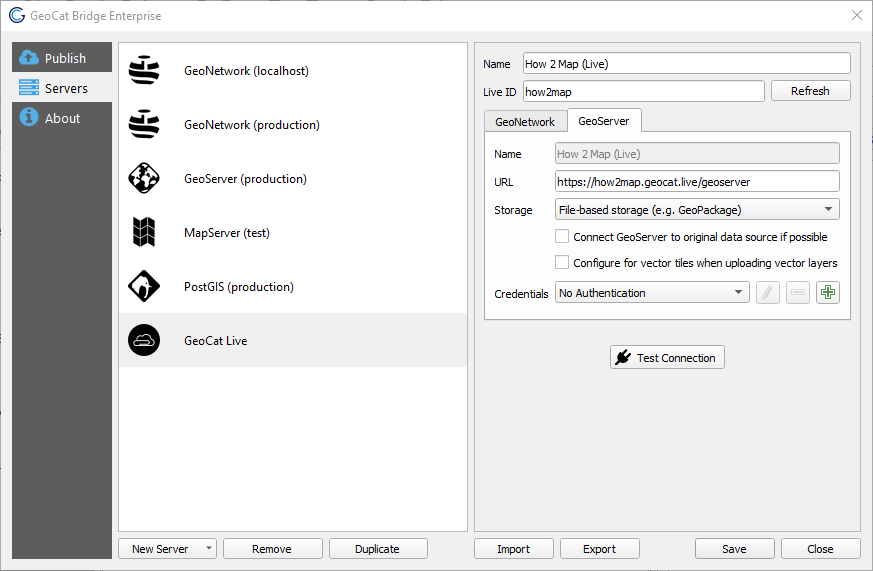
GeoCat Live
GeoCat Enterprise users have an additional server connection option to connect to GeoCat Live, the hosted (or on-premise) all-in-one solution for geodata and metadata services.
Click on New Server > GeoCat Live to configure a new Live connection to publish your map (layer data and symbology) and/or metadata. This will show the following form on the right panel:
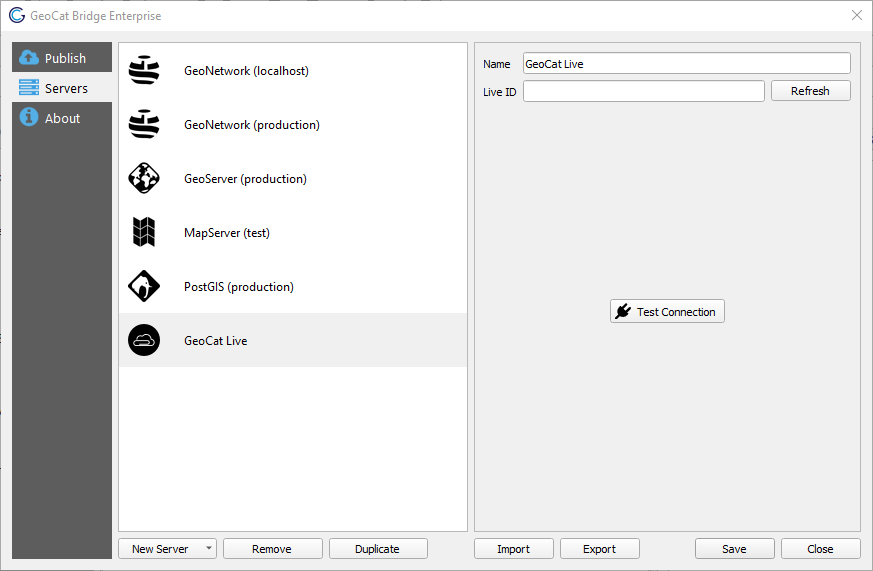
Under User ID, fill in the name that is used to identify your Live server instances. This often is the same name that is used for the subdomain in the Live server URL, but your server instance might have been configured differently.
Once you filled in the User ID, press the Refresh button to load the available server types from your GeoCat Live instance. This might take a little while. Depending on your Live setup, you will likely see a GeoServer and a GeoNetwork tab after it finished loading:
Now you can configure the available subtypes you wish to use for GeoCat Live.
Please refer to the other server types above (GeoServer, GeoNetwork etc.) for details on how to do this. Note that the name field of the subtypes cannot be changed, as it inherits the GeoCat Live connection name.
Tip
If for some reason you are experiencing difficulties connecting to GeoCat Live, you might try setting up a regular connection (e.g. to GeoServer) if you know the full GeoCat Live server URL.
Proxies & certificates
The GeoNetwork and GeoServer connections mentioned above communicate with the server over HTTP(S) and all their outgoing traffic is handled by the Python requests library.
Currently, GeoCat Bridge does not provide a way to set up a proxy server for these connections, and any QGIS proxy settings that may have been defined are ignored.
There are plans to add proxy support in future QGIS Bridge releases.
Any QGIS SSL certificate settings are also ignored, which means that Bridge will not be able to connect to servers that use self-signed certificates, for example.
However, there is a workaround to this problem. You could set a system environment variable called REQUESTS_CA_BUNDLE that points to a .pem certificate bundle.
This bundle should include the root certificate and any intermediate certificates that are required to verify the authenticity of the server certificate.