Publish data
Supported Layers
GeoCat Bridge supports the following layer types:
Vector layers from any source
Raster layers from any source
Layer groups
How to publish
In the Bridge dialog, move to the Publish section.
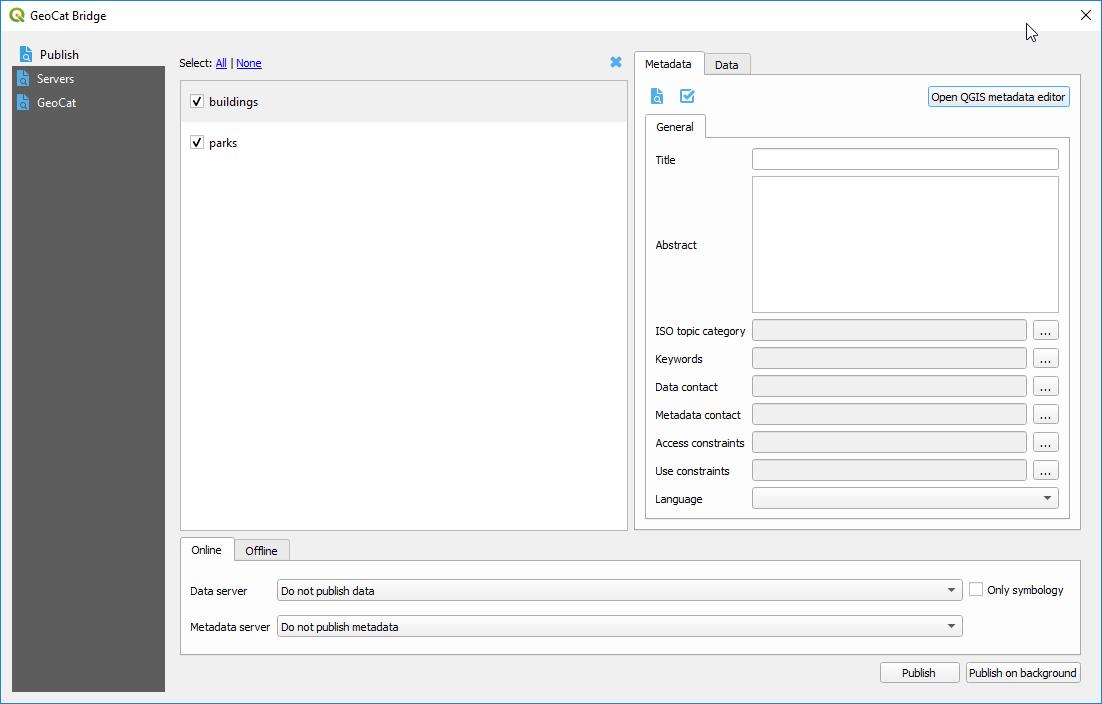
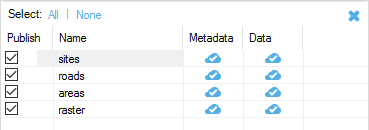
You can select the layers from the list to publish:
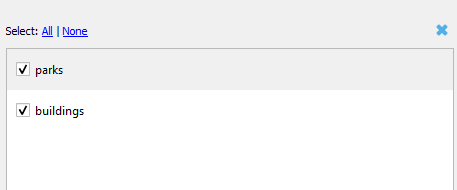
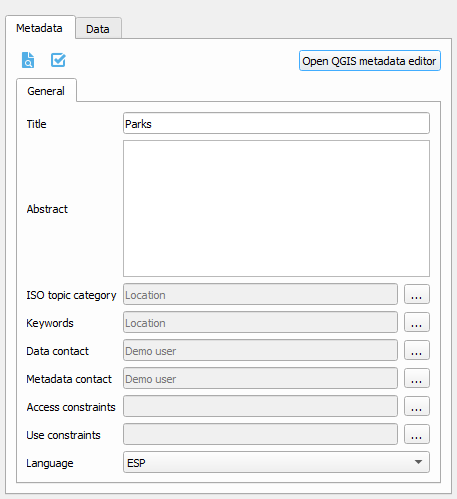
In the Layer panel, for each layer you can:
Edit the metadata (see Metadata Editing)
Select the attributes to publish as part of the map service. Attributes can only be selected for vector data.
When you have finished configuring the properties for all map layers, select the destinations server(s) that you want to use.
You can publish your layers to a geodata server, or their metadata to a metadata server, or both. Those servers must be selected from the two available drop-down lists. Servers in this list are added using the Servers section on the Bridge dialog. See Server Connections for more information about how to add new servers.
When a data or metadata server is selected and there are issues connecting to it, the server box appears framed in a red box.

Once you have selected what to publish and the destination servers, click on the Publish button to start the publishing process. During this process, a progress bar is shown to indicate the status of the publication process:
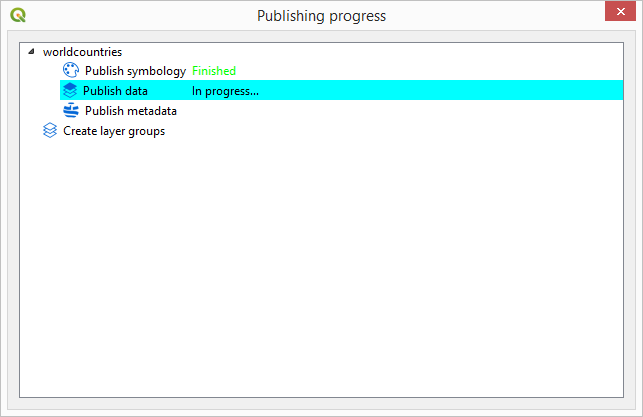
When the publication process is finished, a summary of the result is shown:

If you have already uploaded your data and only want to update the symbology of your server layers without uploading layer data again, check the Only symbology option. The styles of the selected layers willbe published, but no layer data will be uploaded.
When you are uploading a large number of layers, or your layers are large, the publishing process might take time. If you want to continue working with QGIS while layer data is uploaded, you can click the Publish on background button instead of the Publish one. The Bridge will close and you will be able to use QGIS normally. Once the publishing process is finished, the summary dialog will be shown.
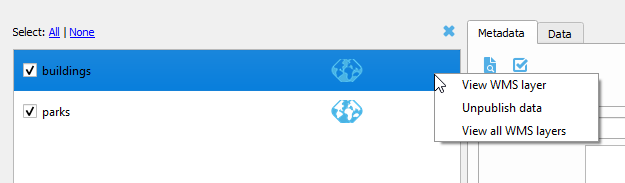
View published layers on server(s)
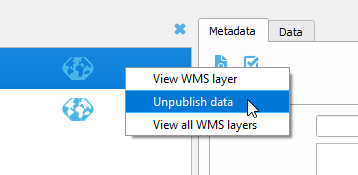
The context menu in the layers list provides a quick access to view the published data on the server(s):
View metadata: If the metadata is already published in a catalogue server, this option opens a browser to show the metadata from the server.
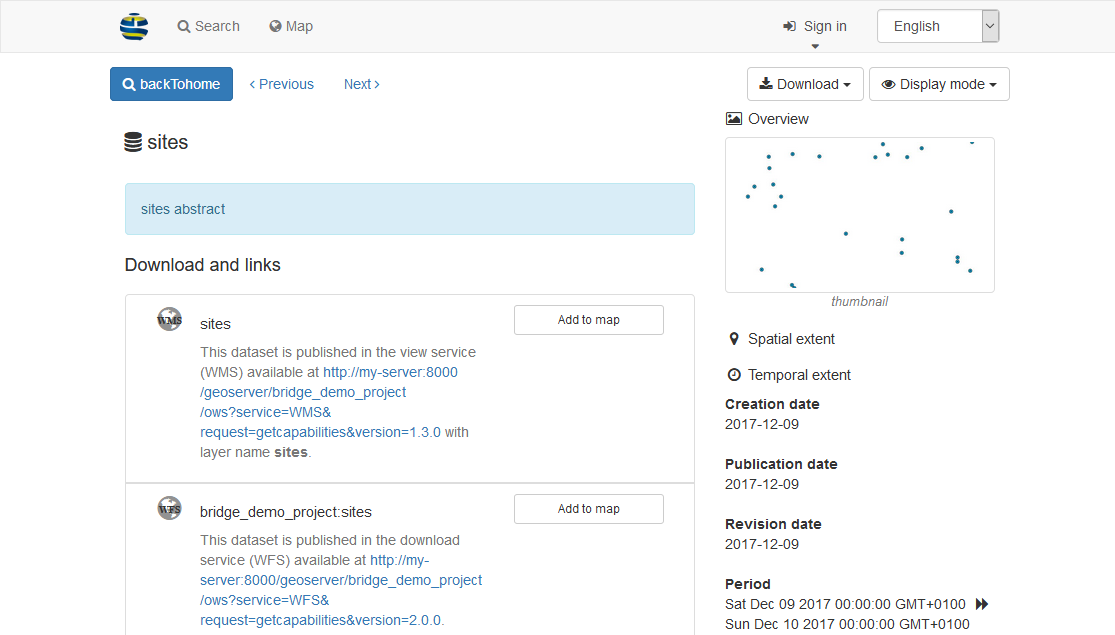
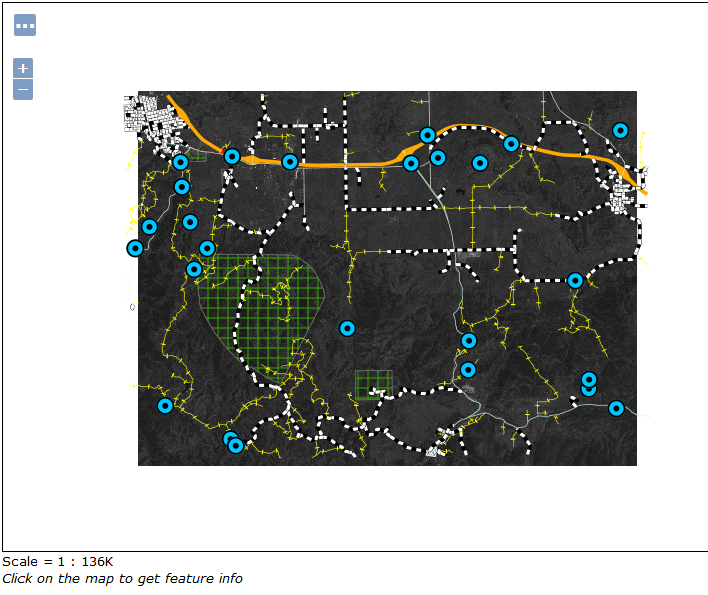
View WMS layer: Opens up a layer preview page for the selected map server with the selected layer.
View all WMS layers: Opens up a layer preview page for the selected map server with all published layer in the map project (MXD).
Unpublish data and metadata
Remove data and metadata all layers
 removes both the metadata and map data of all
selected layers from the publishing server(s).
removes both the metadata and map data of all
selected layers from the publishing server(s).
Remove data and metadata individual layers
If you want to withdraw only metadata or map data for a specific layer, use the context menu in the layers list.
Unpublish metadata: remove the metadata from the selected catalogue server.
Unpublish data: remove the map data from the selected map server.
Export files
To export your files locally, use the offline export options in Bridge. The offline export makes it possible to export the metadata and symbology in the following formats:
SLD (symbology)
Geostyler (symbology)
MapboxGL (symbology)
ISO19319-XML (metadata)

Select a folder and the corresponding files will be created in it for all the layers currently selected when you click on the Publish button